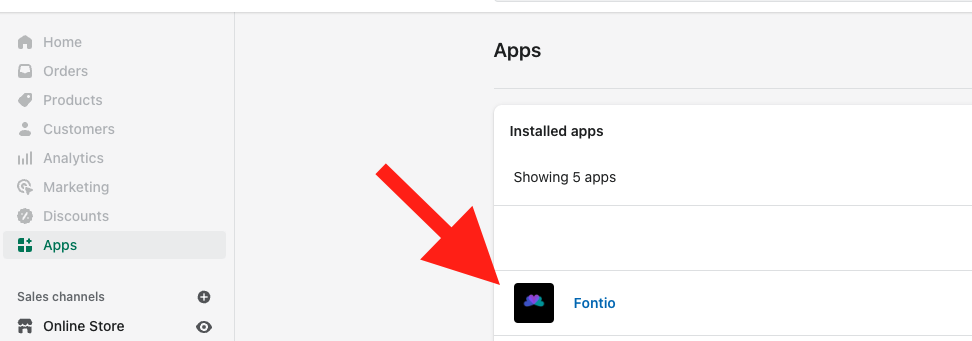
Step 1: Go to Settings, then Apps, then Fontio
Log in your store with the store owner’s account, then go to the Settings field in the bottom right. In Settings, visit Apps then click on Fontio

Step 2: Select which tags/classes you want to chan
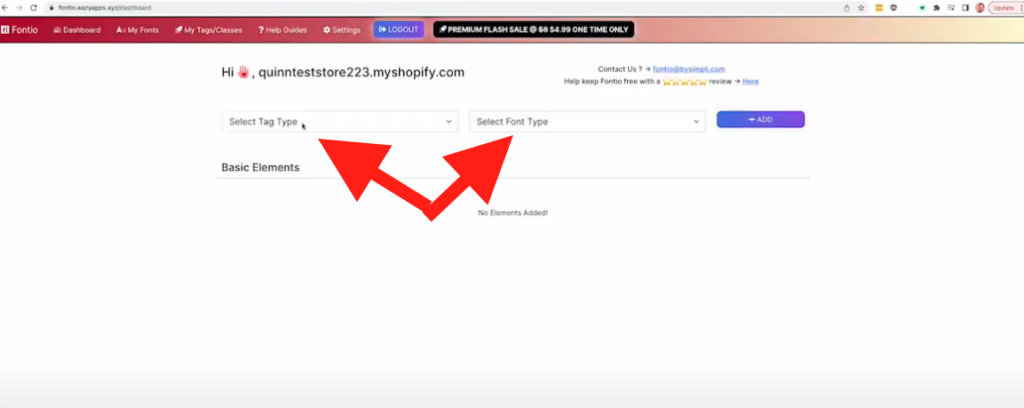
To set up your first Font, click Select Tag Type, select your first tag and then click Select Font Type and select whether you want a Google Font or a Custom Font and click +Add

Step 3: Select which font and variant you want
If you have properly selected which tag and font type you want the page should present you with the option to Select Font and Select Variant. Click Select Font to select the google font you would like and then click Select Variant to add or confirm the variant you want.
When you are ready for the font selection to take effect on the tag you selected, click Save.

Step 4: Review changes on your site
Now, when you have successfully applied a font to a tag it should show up in 2 places:
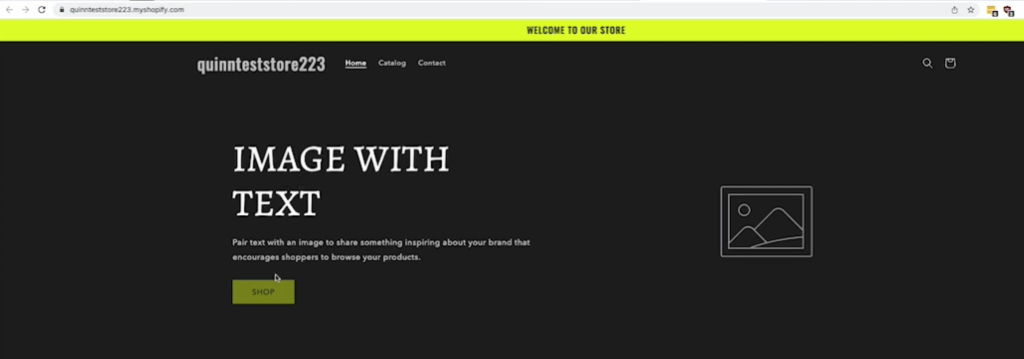
- On the front end of your live site
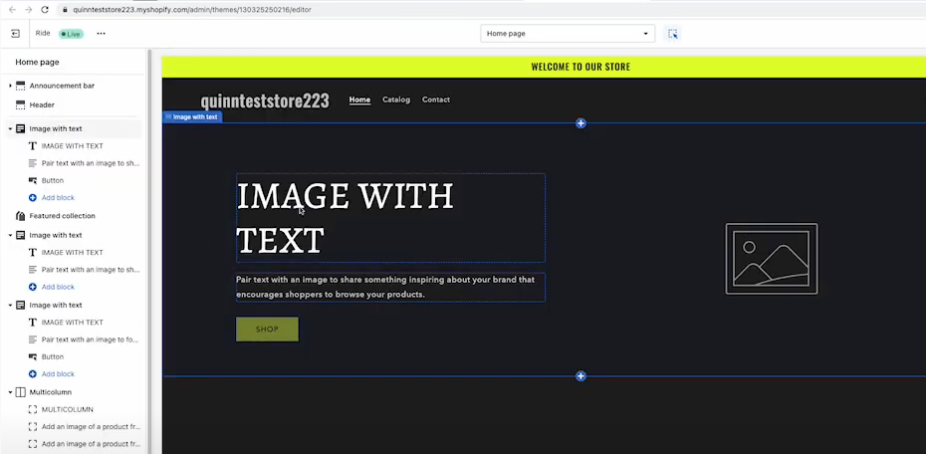
- In your theme editor


NOTE: Fontio will not add fonts to the topography section of your site settings.
Step 5: Relax
You did it! Great Job!

