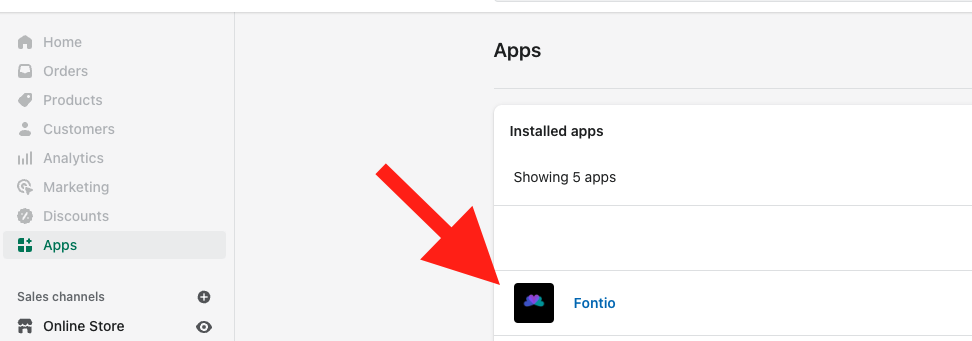
Step 1: Go to Settings, then Apps, then Fontio
Log in your store with the store owner’s account, then go to the Settings field in the bottom right. In Settings, visit Apps then click on Fontio

Step 2: Select which tags/classes you want to change
To set up your fonts on a custom tag, upgrade to premium and then click Add Custom Tag, type in the tag and then add all the font options and variants click Save

Step 3: Review changes on your site
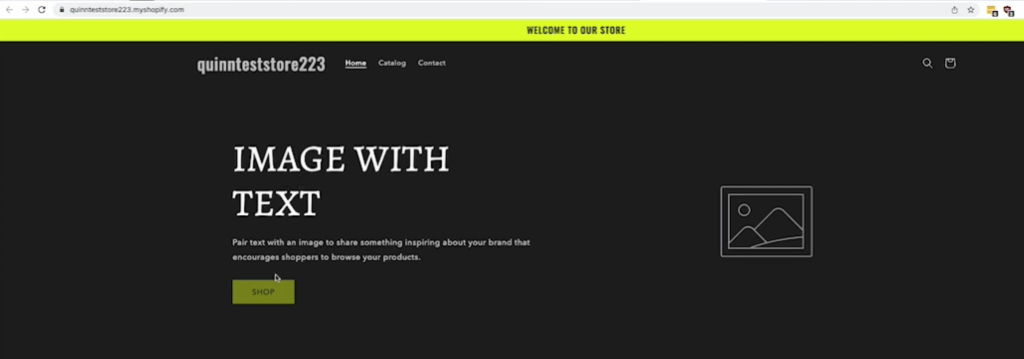
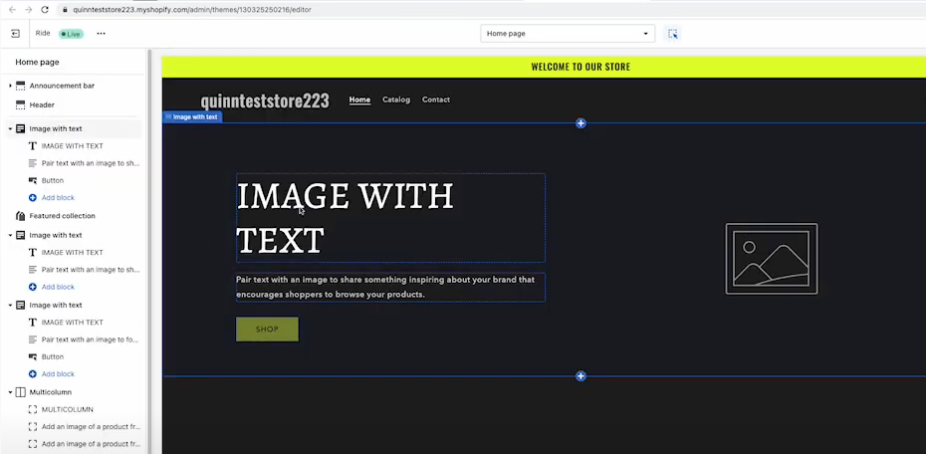
Now, when you have successfully applied a font to a tag it should show up in 2 places:
- On the front end of your live site
- In your theme editor


NOTE: Fontio will not add fonts to the topography section of your site settings.
Step 4: Relax
You did it! Great Job!
Additional Notes
In Shopify, classes and tags are used to style and structure your store’s content. Classes are used to add specific styles to elements, while tags are used to group related elements together.
Classes are added to elements using the following syntax:
<element class="class-name">
where class-name is the name of the class you want to add. For example, to add a class called product-list to a list of products, you would use the following code:
<ul class="product-list">
Tags are added to elements using the following syntax:
<element tag="tag-name">
where tag-name is the name of the tag you want to add. For example, to add a tag called product to a product, you would use the following code:
<div tag="product">
Classes and tags can be used together to create more complex styles and structures. For example, you could use a class to add a specific style to all products, and then use a tag to group related products together.

